The definitive guide to installing Spacemacs on Windows
This post is intended to be the definitive guide for those wishing to install Spacemacs on Microsoft Windows. It describes both a native Windows installation, with XEmacs built for Windows using MinGW and installation using the Windows Subsystem for Linux.
That all said, I found the native Windows installation of Spacemacs to be problematic. Spacemacs behaviour of constantly executing sub-processes such as Git and GnuPG caused alot of freezes, possibly due to the Corporate Firewall between me and the internet. So while, I do describe it below in case others have a different experience to myself and find it useful, I can't recommend it.
Although the installation of Spacemacs on the Window Subsystem for Linux is definitely longer, I found that in end the it was far faster and more stable compared to the native install, I would recommend it.
TLDR: Skip to Spacemacs on the Windows Subsystem for Linux (WSL), as it is more than likely what you want.
Spacemacs on Native (X)Emacs
To natively install Spacesmacs on Windows do the following:
- Download and install the latest unoffical 64bit build of XEmacs from Sourceforge by Chris Zheng. This unofficial build is both a native Windows 64bit build and is generally a much more recent release compared to the official builds from GNU. Spacemacs needs a recent build, so go grab and install a 26.x.x pre-release.
- Install GnuPG and Git for Windows, then ensure that both of these are in
your Windows
%PATH%environmental variable. - In order for XEmacs to find Spacemacs you will need to create a new Windows
environmental variable called
%HOME%and point it to somewhere sensible, such as your%HOMEPATH%, i.e.`C:\Users\<somebody>\`. Now
git cloneSpacemacs in%HOME%, from the SpaceMacs Github$ git clone https://github.com/syl20bnr/spacemacs
To add Powerline support, git clone Patched fonts for Powerline Users in %HOME%, from the Powerline Github and install them with the provided Powershell script.
$ git clone https://github.com/powerline/fonts
$ cd fonts
$ ./install.ps1
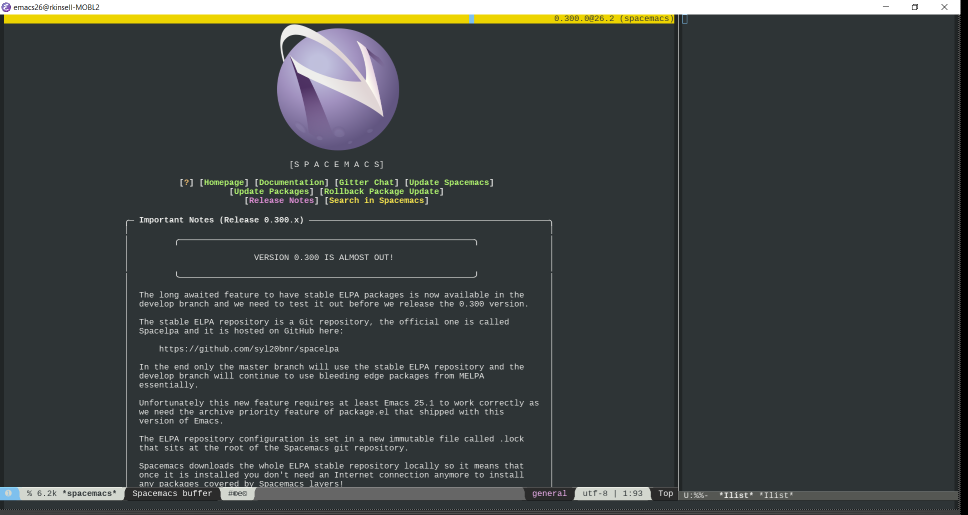
- Start XEmacs from the Windows Start Menu, and wait for all the Spacemacs MELPA packages to install.
Once complete, open the newly create
.spacemacsfile in%HOME%and edit the entrydotspacemacs-default-fontto point to one of the Powerline fonts you installed earlier.dotspacemacs-default-font '("Cousine for Powerline" :size 16 :weight normal :width normal :powerline-scale 1.1)- Restart XEmacs and your done, enjoy Spacemacs!
Spacemacs on the Windows Subsystem for Linux (WSL)
- First, install the Microsoft Windows Subsystem for Linux (WSL). This process is already exhaustively documented by Microsoft, see Windows Subsystem for Linux Installation Guide for Windows 10.
The default Emacs build that comes with WSL doesn't support (X)Windows, and is pretty old, currently 24.5.1 on my system. To fix this add Kevin Kelley's builds of Emacs 26.x.x with XWindows supports, simply by adding Kevin's PPA to WSL.
$ apt update && apt upgrade
$ add-apt-repository ppa:kelleyk/emacs
$ apt update
$ apt install emacs26
- On Windows, download and install the XMing XServer (Xming-x64) and the associated XMing Fonts Package (Xming-fonts). You will need both the XMing XServer and Fonts packages installed.
To add Powerline support, in WSL
git clonePatched fonts for Powerline Users, from the Powerline Github. Then collect all the true-type fonts and put them somewhere sensible XMing can find them. such as your%HOMEPATH%, i.e.`C:\Users\<somebody>\`.$ git clone https://github.com/powerline/fonts $ mkdir -p /mnt/C/Users/<somebody>/fonts $ find fonts -name "*.ttf" -exec cp '{}' /mnt/C/Users/<somebody>/fonts \;You now need to scale and index the fonts for XMing. In the WSL terminal:
$ mkfontscale /mnt/C/Users/<somebody>/fonts
$ mkfontscale -b -s -l /mnt/C/Users/<somebody>/fonts
Finally, add the Xming-fonts and the Powerline fonts to the XMing font search path, edit the XMing shortcut in Windows, and add a
fp(fontpath) argument pointing to both the installed XMing and the Powerline fonts."C:\Program Files (x86)\Xming\Xming.exe" :0 -fp "C:\Program Files (x86)\Xming\fonts\TTF,C:\Program Files (x86)\Xming\fonts\misc,C:\Program Files (x86)\Xming\fonts\75dpi,C:\Users\<somebody>\fonts\TTF" -clipboard -multiwindow
- Start XMing from the Windows Start Menu, you can add this to your Windows Startup folder later for convenience, and confirm that XMing is running in the System Tray.
In the WSL terminal, export the
DISPLAYvariable and start Emacs, and wait for all the Spacemacs MELPA packages to install:export DISPLAY=:0.0 emacs26 &
Once complete, open the newly create
.spacemacsfile in%HOME%and edit the entry dotspacemacs-default-font to point to one of the Powerline fonts you installed earlier.dotspacemacs-default-font '("Cousine for Powerline" :size 16 :weight normal :width normal :powerline-scale 1.1)- Restart Emacs and your done, enjoy Spacemacs!
References
spacemacs